
Its accuracy depends on tissue morphology, tool access, operator skill, and the separation between target and surrounding cells. This guide explains slide preparation, the manual collection workflow, contamination control, and when laser capture microdissection (LCM) offers a practical advantage.
Key Takeaways
- Manual microdissection uses hand-held tools under a standard light microscope to collect tissue from a defined region.
- It can isolate smaller, visually identifiable tissue regions under magnification, while manual macrodissection is better suited to larger areas; scattered individual cells generally require finer techniques.
- Slide preparation, staining, and a pathologist-annotated reference slide strongly influence accuracy.
- LCM uses microscopy-guided laser capture or cutting and can isolate single cells or small clusters.
- The choice depends on target size, required purity, sample throughput, and available equipment.
What Is Manual Microdissection?
In manual microdissection, the operator identifies a region of interest under a microscope and removes the selected tissue with a fine tool. This allows more selective collection than scraping a large area without magnification, although practical resolution remains limited by the tool, tissue characteristics, and operator skill. The collected material is transferred to a tube for downstream extraction.
The distinction from manual macrodissection matters: macrodissection generally involves scraping or excising a larger annotated area, whereas microdissection uses magnification to work with smaller or more heterogeneous tissue structures. The 2023 review of tissue dissection techniques describes these as separate methods.
A 2023 review described five main tissue dissection approaches: bulk scraping, manual macrodissection, manual microdissection, laser capture microdissection, and expression microdissection (Review, 2023). These approaches differ in precision, cost, throughput, and the equipment required.
Manual microdissection is commonly used when:
- The target region is identifiable under magnification and can be physically accessed using a fine dissection tool.
- Laser-based equipment is not available.
- The downstream assay tolerates some admixture of surrounding cells.
Slide Preparation
Most manual microdissection workflows start with formalin-fixed paraffin-embedded (FFPE) tissue sectioned onto glass slides. Section thickness should be validated for the tissue type and the required yield.
Staining
A light hematoxylin and eosin (H&E) stain is commonly used to distinguish target cells from surrounding tissue. Some workflows dissect from unstained sections, using an adjacent stained section as a guide.
Deparaffinization
Deparaffinization can be performed at two points:
- Before dissection: the slide is deparaffinized, then the target region is removed.
- After collection: tissue is scraped from the slide and deparaffinized in the tube.
The appropriate choice depends on the extraction protocol and the tissue.
Mounting and Reference Slides
Slides for manual microdissection must be uncoverslipped so the tissue can be lifted. A pathologist-annotated reference slide marks the exact target region and should be consulted throughout the dissection.
Contamination control:
- Use a clean, sharp needle or blade for each sample.
- Change or clean tools between slides.
- Keep work surfaces and tubes clean to limit cross-contamination.
Manual Microdissection Slide-Preparation Checklist
Before collecting tissue, confirm the following:
- Identify the specimen and assay. Record the tissue block or specimen ID, section number, and intended DNA, RNA, or protein analysis.
- Choose the appropriate working section. FFPE and frozen sections have different preservation requirements. Validate section thickness and slide preparation for the tissue and downstream assay.
- Prepare a morphological reference. Use an H&E-stained section, reviewed and annotated by a qualified researcher or pathologist, to identify the target region.
- Align serial sections carefully. When collecting from an unstained section, compare it with the annotated reference and account for differences between section levels.
- Check staining compatibility. Directly stained working sections can improve recognition, but the stain and processing conditions must be compatible with downstream extraction.
- Keep collection slides accessible. Do not permanently coverslip working sections intended for scraping or lifting.
- Prepare clean tools and labeled tubes. Have the appropriate extraction or collection buffer ready, and avoid transferring material between specimens.
- Control processing time. For RNA-sensitive workflows, use an assay-appropriate RNase-controlled procedure and minimize unnecessary exposure during handling.
The preparation protocol should be selected according to the specimen and analytical objective. A workflow validated for DNA extraction from FFPE tissue should not automatically be treated as suitable for RNA or proteomics.
For further methodological context, see the review of tissue dissection techniques.
Step-by-Step Manual Microdissection
- Locate the region at low magnification on a light microscope.
- Confirm the boundary at higher magnification against the annotated reference slide.
- Lift the tissue from within the boundary using a fine needle, scalpel tip, or pipette tip.
- Transfer the tissue into a tube containing lysis or extraction buffer.
- Pool serial sections if the downstream assay requires more material.
A brief microscopic review after dissection can confirm that the intended region was removed. Collecting a wide margin around the target dilutes the target population with surrounding tissue and reduces the benefit of dissection.

Manual Microdissection Compared With LCM
| Factor | Manual microdissection | Laser capture microdissection |
|---|---|---|
| Selection mechanism | Fine tool guided under microscope | Microscopy-guided laser capture or cutting |
| Practical target size | Small or moderately sized, visually identifiable tissue regions | Selected single cells, small clusters, or larger defined regions, depending on system |
| Suitable targets | Accessible structures with distinguishable boundaries | Small, scattered, rare, or closely intermixed cell populations |
| Equipment | Microscope and manual dissection tools | Dedicated LCM instrument |
| Operator dependence | High; depends on manual technique | Requires trained target selection and appropriate instrument settings |
| Documentation | Reference slides and manual collection records | Software-assisted selection and documentation, depending on system |
LCM is not required for every application. Manual macrodissection is often sufficient for larger, clearly defined tissue regions. Manual microdissection offers finer selection under magnification when the target is accessible with a needle or similar tool. LCM becomes more useful when individual cells, rare populations, closely intermixed structures, or repeatable laser-guided selection are important to the study.

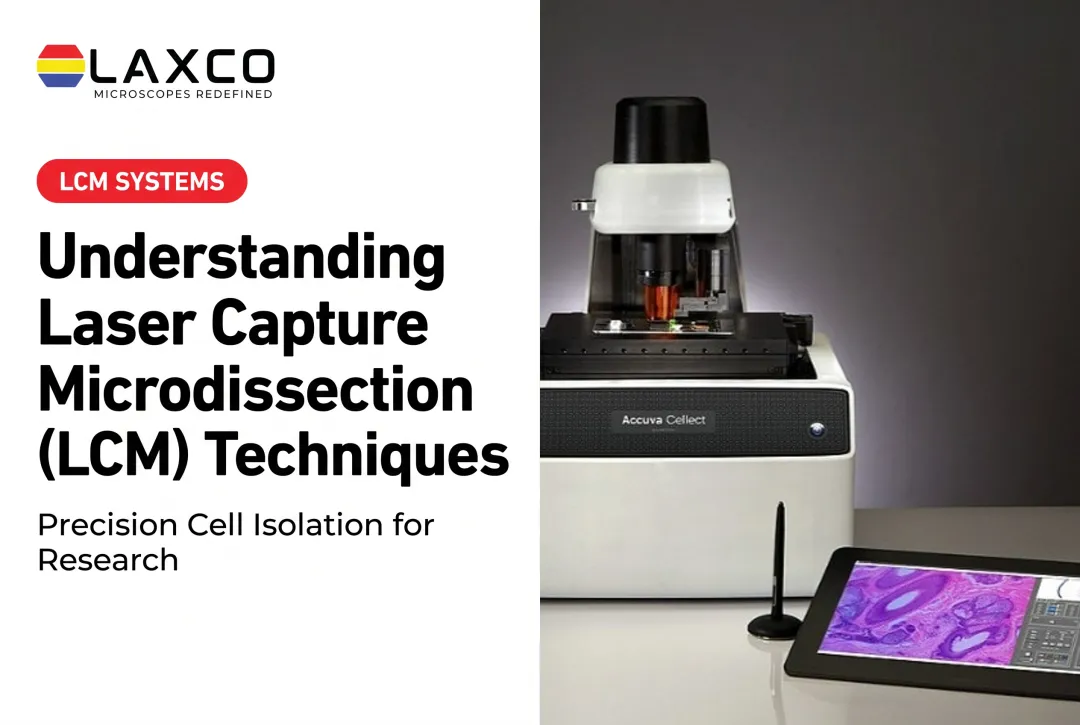
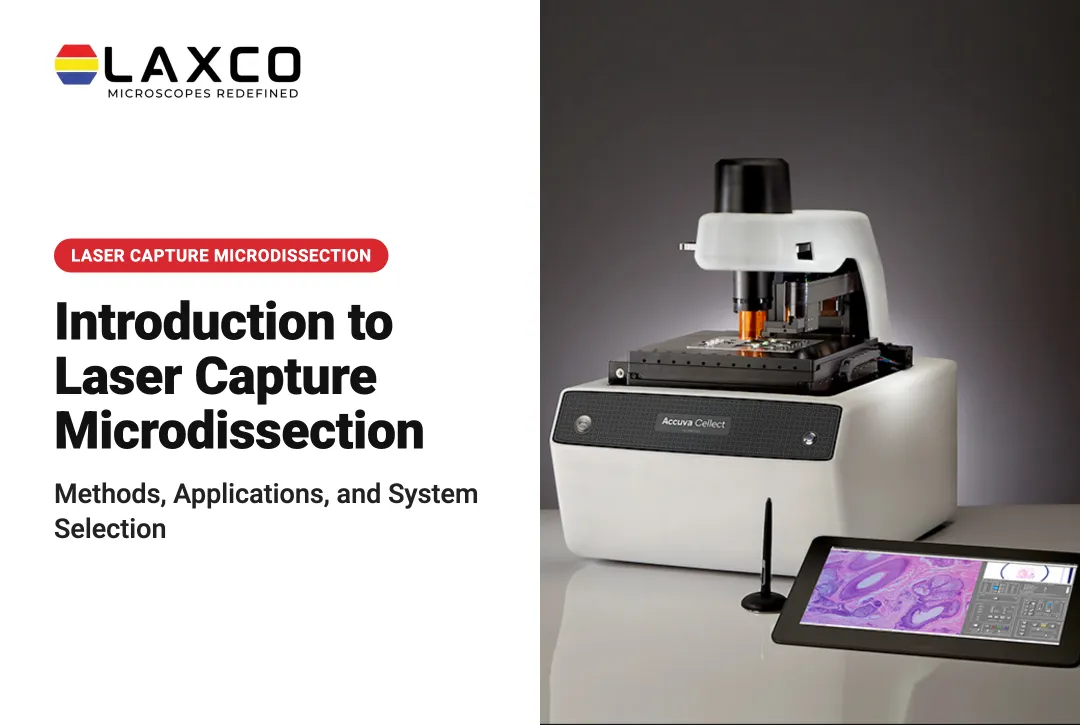
Laxco Accuva Cellect
Laboratories that need cell-level selection may consider LCM. Laxco's Accuva Cellect Laser Capture Microdissection System is designed for this:
- Infrared (IR) laser: designed for capture of single cells or small numbers of cells.
- UV laser: designed for cutting dense structures, such as bone or plant tissue.
- Sample preparation: Laxco lists FFPE and fresh-frozen tissue, H&E-stained and LCM-optimized stains, immunofluorescence, unstained samples, and cell culture.
- Software workflow: a five-step workflow supports target selection, visual quality control, and documentation.
- Compact footprint: Laxco describes Accuva Cellect as having an approximately 32% smaller footprint than comparable microscope-and-laser systems, helping laboratories conserve bench space.
Laxco provides on-site and virtual application training and live technical support. It does not perform microdissection or molecular testing as a laboratory service.
Best Practices for Consistent Results
- Use a reference slide for every case. Consistency between operators depends on a shared, annotated target.
- Work promptly once tissue is rehydrated. Delays can reduce nucleic-acid quality.
- Record what was collected. Note the slide, region, and number of sections pooled for each sample.
Frequently Asked Questions
When is manual microdissection precise enough?
Manual microdissection can be appropriate when the target is clearly recognizable under magnification and can be separated using a fine tool without unacceptable contamination from surrounding tissue. For larger, well-defined regions, manual macrodissection may be sufficient and more efficient. LCM is more suitable when the target consists of scattered individual cells, very small structures, or closely intermixed populations requiring finer selection.
Do I need special slides for manual microdissection?
Standard glass slides are commonly used. An annotated H&E reference slide from the same block helps operators locate the target region consistently. Uncovered, dried sections make lifting tissue easier.
How do I keep results consistent between operators?
Use an annotated reference slide for every case, record the slide, region, and number of sections pooled, and use a fresh tool for each sample. Written selection criteria reduce differences between operators.
What should I compare before moving to LCM?
Compare target size, the number of samples per week, required purity, and downstream sensitivity. Also consider documentation needs, because LCM software can record selected regions, and the training time required.
How much bench space does an LCM system need?
Laxco describes Accuva Cellect as having an approximately 32% smaller footprint than comparable microscope-and-laser systems. The compact design may help laboratories incorporate LCM alongside existing microscopy and sample-preparation equipment. Confirm exact installation dimensions, clearance requirements, and workstation needs with Laxco before planning laboratory space.