
Key Takeaways
- Manual microdissection enriches target cells or regions from tissue sections for molecular analysis.
- Manual microdissection suits laboratories collecting visually identifiable tissue regions under magnification, while manual macrodissection is generally more efficient for larger, clearly defined areas.
- Tissue preparation, staining contrast, tool precision, and operator skill determine sample purity.
- Contamination, poor visualization, and delays before stabilization are common causes of failure.
- Laser capture microdissection (LCM) is an alternative when targets are small or reproducibility across operators is critical.
Step-by-Step Procedure
Step 1: Tissue Preparation and Sectioning
Confirm that the fixation method matches the downstream assay. Frozen tissue generally preserves RNA and protein better. Formalin-fixed paraffin-embedded (FFPE) tissue is the standard for routine diagnosis and long-term storage, although formalin crosslinking complicates extraction.
Section thickness should allow clear visualization of target cells while providing enough material. Sections of about 5–10 µm are commonly used.

Before proceeding:
- Check slides for folds, tears, and drying artifacts.
- Use a fresh microtome blade, because dull blades tear tissue.
- Prepare staining reagents and clean slides.
Step 2: Staining and Visualization
H&E staining is the standard method for marking regions of interest. When morphology alone cannot distinguish target cells, immunohistochemistry (IHC) can help. A pathologist typically marks the target area on a reference slide.
Before dissecting:
- Confirm that the slide is dry and has no coverslip.
- Check microscope optics and lighting for sharp cell boundaries.
- Verify that staining contrast separates the target from surrounding tissue.
Poor contrast is a common reason for impure samples.
Step 3: Isolating Target Cells
Use a scalpel blade or fine needle to lift tissue from the marked region.
Contamination controls:
- Use a separate blade or needle for each sample.
- Clean the workspace between samples.
- Change gloves regularly.
Necrosis, mucin, and inflammatory cells are recognized sources of contamination in tumor samples, so check the boundaries before collecting material.

Step 4: Collection and Storage
Transfer isolated material into lysis or storage buffer promptly. Label each sample and record it for traceability. Store samples at temperatures suitable for the planned assay, and avoid repeated freeze-thaw cycles.
Handling time before fixation also matters. A 2019 study of colorectal tissue reported that tumor RNA began to degrade after 8 hours at room temperature. Samples kept on ice remained stable for up to 48 hours (Fan et al., 2019).
Molecular Pathology Planning: Tumor Content and Assay Requirements
In molecular pathology, selecting tissue is not only about collecting enough material. It is about ensuring that the material contains a sufficient proportion of the cells relevant to the intended molecular test.
A tumor sample may contain malignant cells, stromal tissue, inflammatory cells, necrosis, and other components. Extracting DNA or RNA from the entire region can dilute signals associated with the tumor population.
Assess Tumor Cellularity Before Dissection
Before selecting a region for molecular analysis:
- Review the histology. A qualified pathologist or trained specialist should identify the relevant tumor region and assess specimen adequacy according to the laboratory's workflow.
- Estimate the target-cell fraction. Consider the approximate proportion of tumor cells relative to nonmalignant cells within the proposed collection area.
- Identify interfering regions. Avoid necrosis, extensive inflammation, fibrosis, mucin-rich areas, or unrelated tissue when these would compromise the intended assay.
- Match the region to the assay. Consider whether the planned molecular method can reliably detect the target alteration at the expected tumor fraction.
- Document the selection. Record the slide identifier, annotated region, estimated target-cell content when relevant, and material submitted for extraction.
The required tumor fraction is assay-dependent. It should not be replaced with a universal minimum percentage. A molecular assay's limit of detection, tumor heterogeneity, variant characteristics, and nucleic-acid quality can all influence whether a result is reliable.
A review of tissue dissection techniques for molecular pathology explains how enrichment of selected cell populations can reduce dilution by unrelated tissue and improve the suitability of specimens for molecular analysis.
Connect Tissue Selection to the Downstream Test
The optimal dissection strategy depends on what the laboratory intends to measure.
| Molecular objective | Tissue-selection consideration |
|---|---|
| DNA mutation analysis | Tumor-cell proportion, assay detection limit, and contamination by normal cells |
| RNA expression analysis | Tissue preservation, RNA quality, and mixing of expression signals from different cell populations |
| Protein analysis | Target-region purity, protein recovery, and compatibility with extraction methods |
| Region-specific molecular comparison | Consistent identification and separate collection of the tissue compartments being compared |
For example, when studying differences between tumor epithelium and surrounding stroma, collecting the two regions separately may provide more interpretable molecular data than extracting the entire mixed section.
Record Quality-Control Information
For each collected sample, document the source specimen, section or slide identifier, target region, dissection method, collection conditions, and relevant downstream quality-control results.
Manual dissection can support molecular pathology workflows when its precision is adequate. LCM may be useful when the required cell selection is too fine or complex for manual tools.
For clinical testing, the laboratory must follow its validated procedures and applicable quality requirements. Tissue enrichment alone does not establish the diagnostic performance of a molecular assay.
When to Use Manual Microdissection
Suitable for:
- Laboratories with modest sample volumes
- Targeted studies of a small number of biomarkers
- Situations where equipment access or cost is a constraint
- Small or moderately sized tumor regions that can be clearly distinguished under magnification and separated with a fine blade or needle
Less suitable for:
- Very small cell clusters or single cells
- High sample volumes where manual work becomes a bottleneck
- Studies that require consistent results across multiple operators
A 2022 review noted that manual microdissection retains microscopic architecture better than bulk scraping, but it does not reach cell-level resolution (Walsh et al., 2022).
Preparation Checklist
Equipment and materials: microscope, blades or needles, and sterile consumables.
Tissue conditions: fixation suitable for the assay, sufficient staining contrast, and appropriate section thickness.
Skills and controls: trained operators and procedures that prevent cross-contamination.
Parameters That Affect Results
| Parameter | Why it matters | Effect on quality |
|---|---|---|
| Section thickness | Affects visibility and amount of material | Too thin reduces yield; too thick obscures boundaries |
| Staining contrast | Determines how clearly targets can be seen | Poor contrast leads to inaccurate selection |
| Tool condition | Affects how cleanly tissue is lifted | Dull tools tear tissue and pick up neighboring cells |
| Operator consistency | Technique varies between people | Variation reduces reproducibility |
Extraction method also affects yield and quality, especially for FFPE tissue. Validate extraction kits on representative samples.
Common Mistakes
- Skipping slide drying checks, which leads to smeared material.
- Selecting poorly stained regions, which reduces purity.
- Delaying transfer to buffer, which risks nucleic acid degradation.
- Reusing tools between samples, which causes cross-contamination.
Troubleshooting
Low or inconsistent yield
- Cause: long handling times or suboptimal fixation.
- Solution: shorten the time between dissection and buffer transfer.
Contamination between samples
- Cause: shared tools or surfaces.
- Solution: use a new blade or needle for each sample and clean between samples.
Difficulty distinguishing target cells
- Cause: weak staining or insufficient magnification.
- Solution: adjust staining or use higher-quality optics.
Tissue damage during dissection
- Cause: excessive force or imprecise cutting.
- Solution: refine the technique, or consider laser-based isolation for small targets.
Alternatives to Manual Microdissection
Laser Capture Microdissection
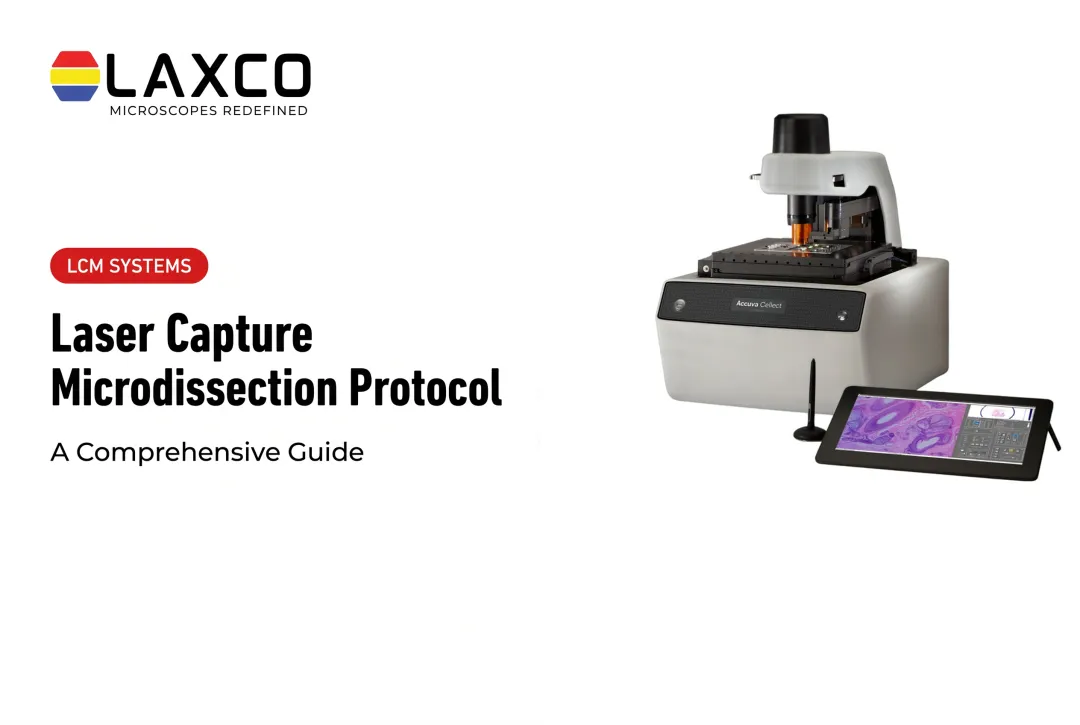
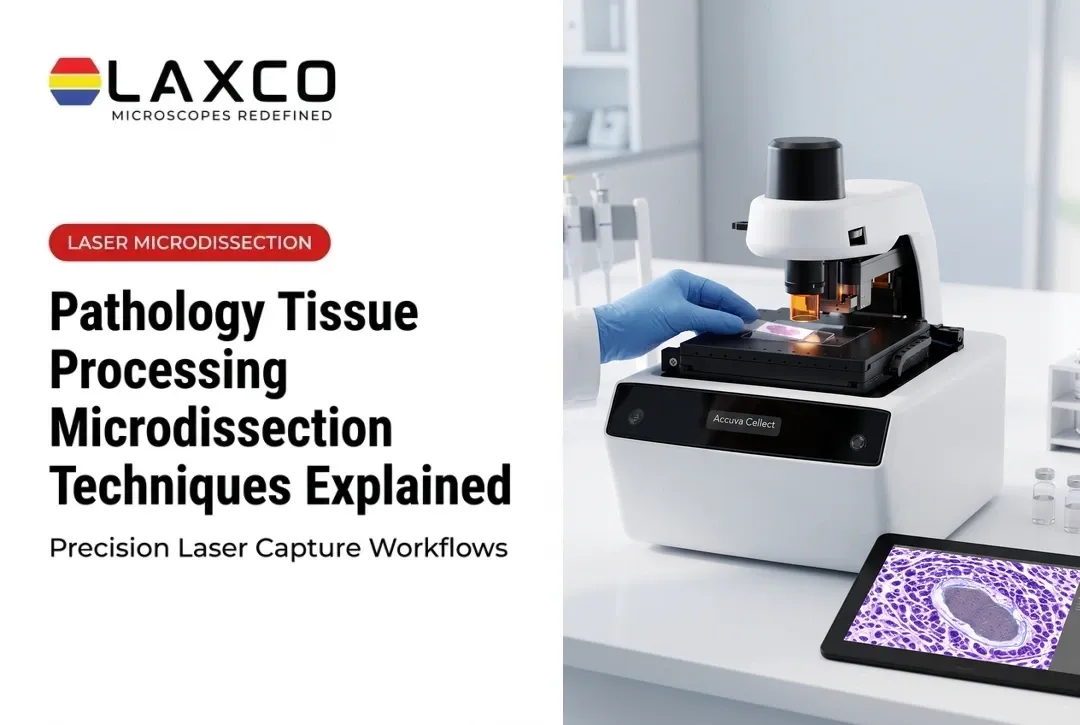
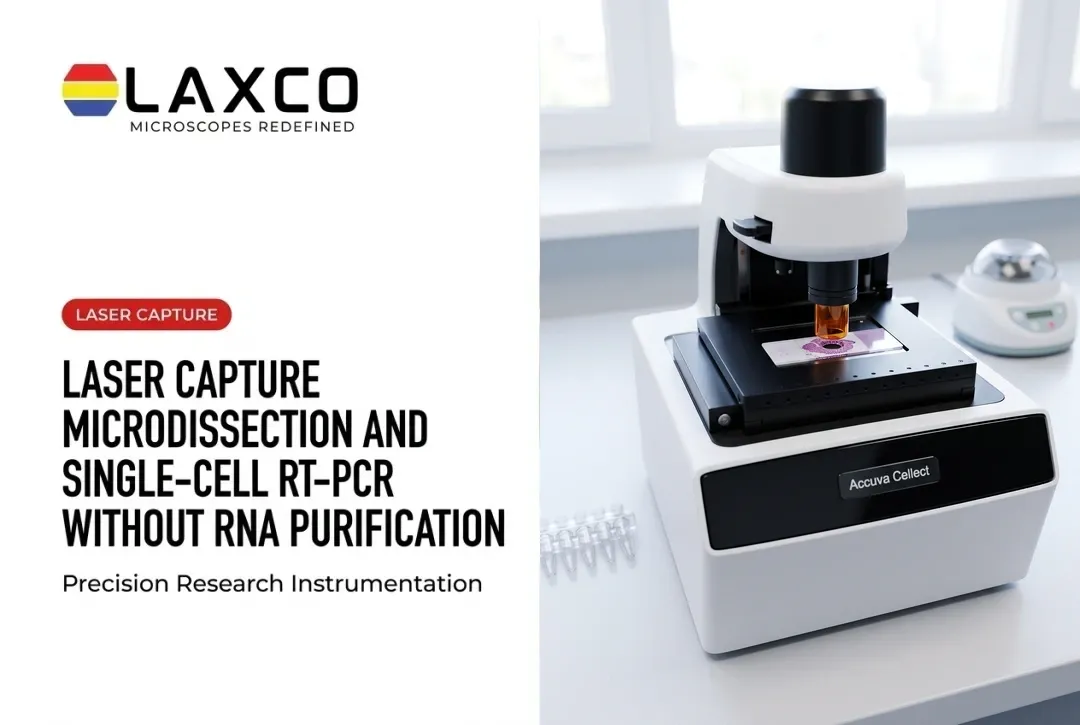
LCM isolates selected single cells or tissue regions under microscopic guidance using a laser. Instrument-guided selection and capture can improve consistency for small or closely intermixed targets compared with manual tools, although reproducibility still depends on sample preparation, target identification, instrument settings, and operator training. LCM also requires dedicated instrumentation.
Laxco's Accuva Cellect Laser Capture Microdissection System includes:
- Infrared (IR) laser: designed for capture of single cells or small numbers of cells.
- UV laser: designed for cutting dense structures, such as bone or plant tissue.
- Sample preparation: Laxco lists FFPE and fresh-frozen tissue, H&E-stained and LCM-optimized stains, immunofluorescence, unstained samples, and cell culture.
- Software workflow: a five-step workflow with visual quality control.
Laxco provides on-site and virtual application training and live technical support.
Digitally Guided Needle Dissection
Adding digital imaging to needle dissection improves documentation of the selected area. This is useful when traceability is required.
Frequently Asked Questions
What section thickness is best for manual microdissection?
Sections of about 5–10 µm are commonly used. Thicker sections provide more material for extraction, while thinner sections make boundaries easier to see. Match thickness to the downstream assay's input requirement and the visibility of the target.
When should a molecular pathology lab switch to LCM?
Consider LCM when the target consists of individual cells, rare cell populations, or closely intermixed structures that cannot be isolated reliably with manual tools. Instrument-guided laser selection can also support more standardized collection and documentation when the workflow is appropriately validated.
Manual microdissection remains practical for smaller, morphologically identifiable regions that can be accessed under magnification. For large tumors with clearly marked boundaries, manual macrodissection may be sufficient and more efficient.
How can I reduce contamination during manual microdissection?
Use a new blade or needle for each sample, clean surfaces between samples, and change gloves regularly. Check boundaries against the reference slide to avoid collecting necrosis, mucin, or inflammatory cells.
Which sample types does Accuva Cellect support?
Laxco lists FFPE and fresh-frozen tissue, H&E-stained and LCM-optimized stained sections, immunofluorescence, unstained samples, and cell culture for Accuva Cellect. This covers the preparations most molecular pathology research workflows already use.
Does Laxco perform microdissection as a service?
No. Laxco supplies instruments, application training, and technical support. Microdissection, extraction, and downstream molecular testing are performed by the laboratory using the instrument.
The Accuva Cellect Laser Capture Microdissection System is positioned for research applications. Its ETL certification concerns applicable product safety requirements and should not be interpreted as regulatory authorization or clinical validation for a diagnostic assay.
Laboratories intending to use a microdissection workflow in clinical molecular pathology must establish that the equipment, sample preparation, and downstream testing meet the requirements applicable to their intended use.